Do not be afraid to patch a hole in the drywall. It's enjoyable sometimes actually. After you master it, you'll find yourself scouring your walls for tiny holes to fix and repair. Due to its ease of doing and relative lack of skill requirements, it ranks among the most gratifying DIY home renovation tasks. Whether you're a serial renter or a real homeowner, understanding how to fix drywall correctly is as essential as knowing how to tie your shoes. Here are eight tips and tricks to help you!
Gather the Necessary Tools
Having the proper tools is the first and crucial step for completing drywall repair projects. While you will need a few specific tools to get the job done, most of the repair process requires some common everyday equipment. Drywall jabs, putty knives, drywall taping knives, sandpaper, or a sanding block are the specialized tools you'll need. Commonplace equipment that you probably already own, such as a utility knife, level, screwdriver, and a wet sponge or towel, are also on the list. However, if you decide to leave this job to expert sheetrock repair services, having the right tool won’t be a problem of yours. If you still decide to work on your own, double-check that you have all the common and specialized tools you'll need before starting.
Know What Compound You Need
Premixed drywall compounds, sometimes called spackle, come in two main varieties: one that is lightweight and another that is all-purpose. The lightweight one is easier to sand, dries faster, and weighs almost a third less than the all-purpose one. The all-purpose compound is known for drying harder and being usually cheaper. Both varieties are easy to apply and maintain their efficacy for about nine months when stored at room temperature. A five-gallon bucket of the compound should be purchased if there is drywall damage in many rooms. You won't need that much for minor repairs.
Keep in mind that powdered dry-mix joint compound is another option. Before applying, it has to be blended with water until it reaches the right consistency. Although the pre-mixed compound is more convenient and easy to use for do-it-yourself repairs, the dry-mix compound is cheaper.
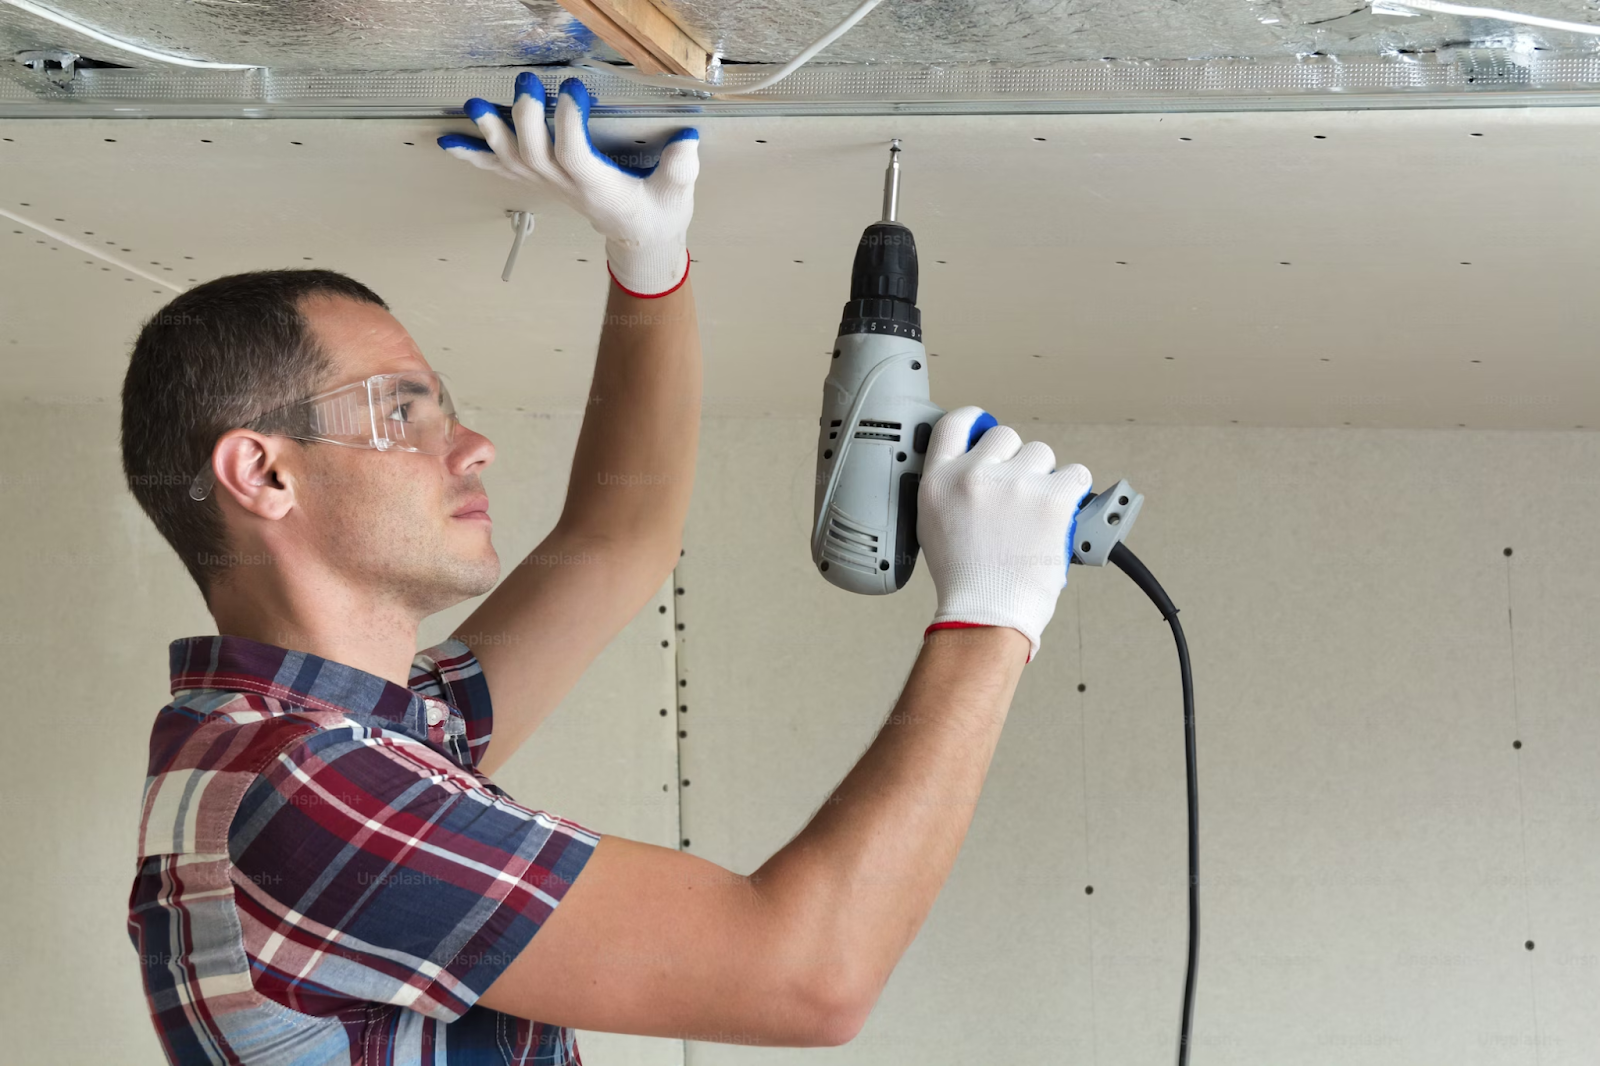
Secure the Drywall Patch
Taking precise measurements of the damaged area and cutting a piece of drywall that is an exact match will improve the likelihood of a successful repair. Take accurate measurements of the area's width and height and note the thickness of the drywall that has to be replaced. With a utility knife, carefully cut out a rectangle patch that fits the damaged area perfectly. Use screws or nails to attach the patch, making sure it is flat on the surface.
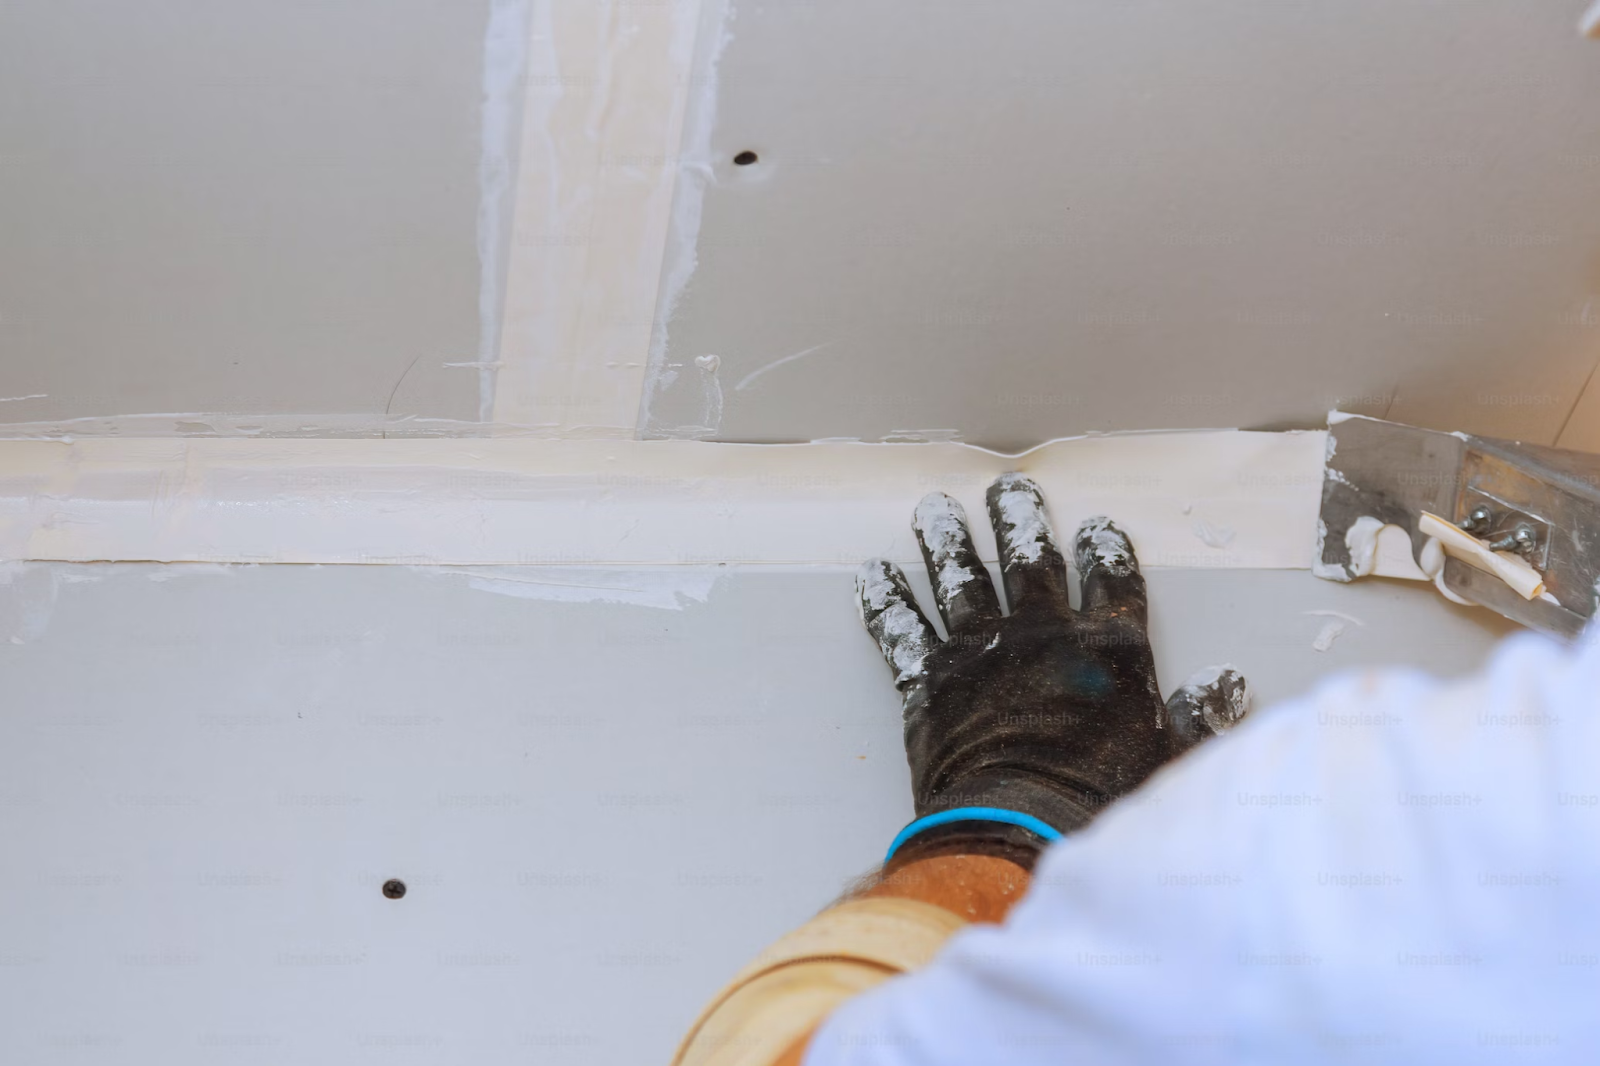
Repair!
Spread a thin coating of joint compound over the patch's seams and edges using a putty knife. Feather the edges and smooth it out so it blends nicely with its surroundings. Set it aside to dry. The next step is to cover the seams with drywall tape, pressing them firmly against the joint compound. Gently use a taping knife to press it down and release any air pockets. To make the transition seamless, apply a second coat of joint compound and spread it out beyond the tape's boundaries. If you want your paint job to seem professional, use many thin coats instead of one thick one.
Sand and Smoothen the Repair
After the joint compound has dried, sand the repaired area gently. Get yourself set up with the proper equipment before you start sanding. In this case, an electric sander is your best bet, but it can be challenging to use. An alternative that requires more work is sandpaper and a sanding block. Put on your protective gear, including a dust mask and goggles. Take your time and make sure there are no lumps or rough spots. Before texturizing or painting the wall, make sure the surface is smooth.
Texturize Your Repair
You could notice that some of the walls and ceilings are textured in certain homes or offices. That means you need to take one more step in the drywall repair process before moving on to painting. Though it may seem daunting initially, texturizing is rather simple if you put in the time and effort.
Discovering the texture of your walls and ceilings should be your first step. You can get some simple textures in the cans at home improvement shops, and they spray on very fast. On the other hand, certain textures call for artistic skill, and the drywall mud is specifically produced for that purpose. You may easily find examples of typical wall textures online or ask a helpful employee at your neighborhood hardware shop to help you identify your texture if you're still unsure. Once you've finished texturizing, it's time to paint and finish up!
Paint
The last step in repairing drywall is to paint the repaired area. It is essential to use the same paint kind and a comparable hue for the repairs so they blend in with the existing walls. Apply the primer with a brush or roller and wait for it to dry before moving on. Paint is best applied using a roller for wide surfaces and a brush for more delicate ones. You can cover more ground with a roller, but you'll have more control around corners and edges with a brush. The most effective way to apply paint is in a W-shaped pattern, and then fill in the spaces between your roller strokes with a brush. Check the area for any places that were missed after the paint has been applied. Use a little paintbrush to fix any that you discover. Wait for the paint to dry completely before using the area.
Clean Up the Dust
Sanding joint compounds is a common practice when repairing drywall; it leaves the surface smooth and free of imperfections. On the other hand, the ultra-fine gypsum and silica particles included in joint compound dust are known to irritate the respiratory system. Never sand joint composites without first using a dust mask or, even better, a respirator with two cartridges.
To further protect the floor from debris, lay down a drop cloth before you begin sanding. After finishing the sanding, use a wet sponge to remove any dust from the drop cloth. Next, use a shop vacuum with a HEPA filter to clean up the area. After everything has calmed down, sweep up the remaining debris. Most standard home vacuums will just release the very fine sanding dust back into the air, therefore a second step is required to clean the area thoroughly.
Most homeowners will eventually have to repair their drywall due to a renovation project, an accident, or any number of other possible incidents. If you've never patched drywall before, this could seem like a huge task. However, after reading this, you'll be an expert at fixing holes in walls!